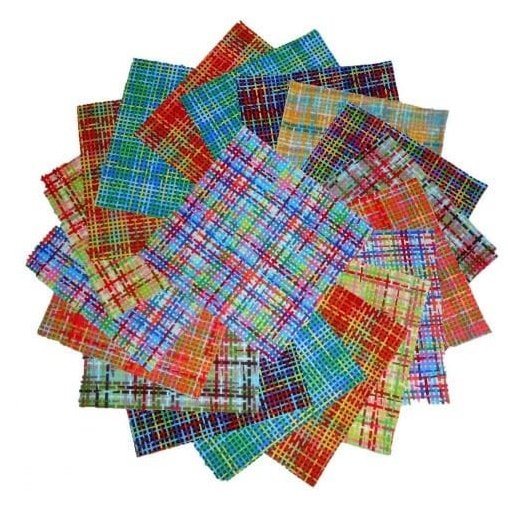


When you're learning to quilt, most tutorials focus on creating beautiful patchwork tops. While this is certainly an exciting part of the process where you watch patterns and colors come together, your quilt isn't truly functional until you've completed the final steps. In this comprehensive guide from Donna Jordan of Jordan Fabrics, you'll learn everything you need to know to transform those unfinished quilt tops into beautiful, usable quilts.
Why Finishing Matters
Many quilters (Donna included!) end up with stacks of unfinished quilt tops. While these patchwork pieces are lovely to look at, they can't be used on beds, given as gifts, or enjoyed as cozy comfort items until they're properly finished. The good news is that the finishing process is the same for virtually any quilt top you create.
Adding Borders: Framing Your Masterpiece
Borders serve an important purpose in quilting. They:
- Frame your patchwork like a picture
- Create a visual stopping point for the eye
- Allow you to adjust the final size of your quilt
- Provide an opportunity to balance or enhance your color scheme
When selecting borders, consider:
- How much larger you want your quilt to be
- Whether you want to make colors pop or blend
- Using smaller borders for inner frames and larger borders with bigger prints for outer frames
Calculating border fabric is straightforward. Measure your quilt, add up the lengths needed for all sides, divide by the usable width of your fabric (typically about 40 inches), and round up to determine how many strips to cut.
Creating a Proper Backing
Your backing needs to be at least 3 inches larger than your quilt top on all sides. For larger quilts, you'll need to seam fabric pieces together to create a backing large enough. Donna recommends:
- Cutting pieces to the required length (typically 6 inches longer than your quilt top)
- Seaming them together with a generous seam allowance
- Pressing seams open for a flat finish
Quilting Options for Every Skill Level
The quilting itself is what holds your three layers (top, batting, and backing) together. Donna covers three main approaches:
-
Stitch in the Ditch: Perfect for beginners and small projects
- Sandwich your layers together with pins
- Stitch around the edges to secure everything
- Stitch along existing seam lines in your patchwork
- Keep quilting lines no more than 4 inches apart for durability
-
Long-arm Machine Quilting: For those who want professional results
- Many quilters offer this as a service if you don't have your own machine
- Computerized patterns provide endless design options
- Allows for consistent, beautiful quilting across large projects
-
Free-Motion Quilting: For those who want to create custom designs
- Can be done on home machines or long-arm machines
- Requires dropping the feed dogs on your machine
- Allows for creative expression with swirls, leaves, or other patterns
Binding: The Perfect Finish
The final step is binding, which covers all raw edges and completes your quilt:
- Trim excess batting and backing even with the quilt top
- Choose a binding fabric (darker colors typically show less wear)
- Cut 2.5-inch strips and sew them together into one long piece
- Press the seams open and fold the strip in half lengthwise
- Sew the binding to the front of the quilt with raw edges aligned
- Create mitered corners by folding the binding at 45-degree angles
- Join the beginning and end of the binding with a seam
- Fold the binding to the back and secure by stitching in the ditch from the front
Wrap-Up
By following these steps, you can transform any patchwork top into a beautiful, functional quilt that will last for years. Whether you choose to stitch in the ditch on your home machine, send your quilt to a long-arm quilter, or try free-motion quilting yourself, the finished result will be something you can truly use and enjoy.
Remember that quilting is personal—there's no single "right way" to finish your quilt. Try different methods and find what works best for you and your projects!