Greetings to all quilting aficionados! If you've been dreaming about crafting an exquisite quilt using a layer cake and a splash of background fabric, today's guide has been woven especially for you. Let's unravel the "Burrow" quilt pattern, inspired by a detailed video tutorial from the talented Krystal, the creative force behind Moonkin Stitchery.
Credits: This invaluable tutorial and its inspiration are courtesy of Krystal from Moonkin Stitchery. You can view her original video here. We encourage you to amplify your support by liking, subscribing, and ringing the notification bell on her channel.
Materials You'll Need
- Fabric for Quilt: Krystal's tutorial elegantly displays the use of the season of tribute 'Roots of Nature' by Bonnie, Christine, and the 'Volcanic Deco Stitch' as the background. These captivating fabrics are a treasure from Art Gallery fabrics.
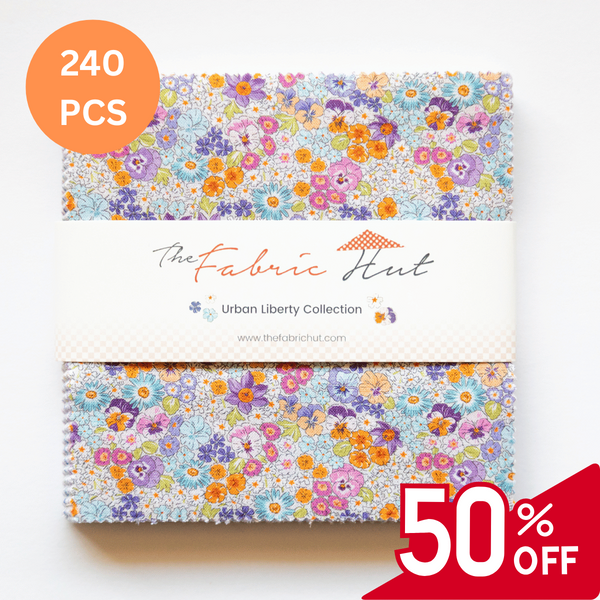
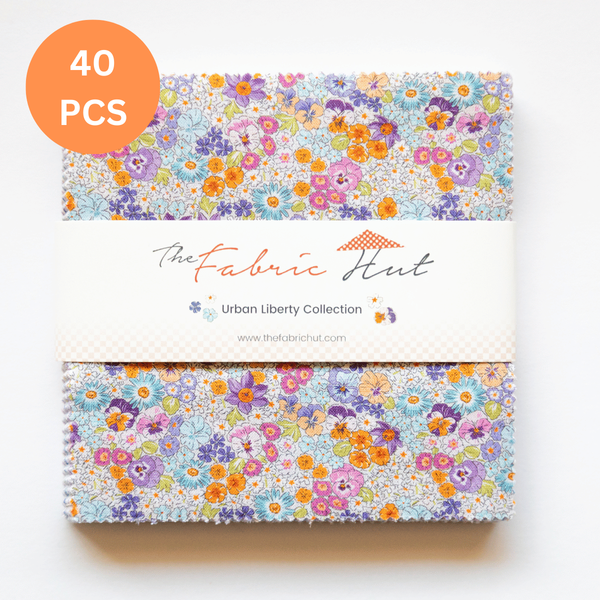
- Layer Cake: A delightful set of 10-inch fabric squares.
- Background Fabric: Dive into this by slicing it into two-inch-wide fabric strips, further subdividing these into two-inch squares.
Step-by-Step Process
-
Preparation:
- Embark by transmuting your layer cake (the 10-inch squares) into four 5-inch squares each.
- Contemplating Charm packs (pre-cut 5-inch squares)? Ensure you're armed with at least four of each print. Krystal recommends a layer cake because of its capability to yield four squares from each 10-inch piece.
-
Block Number One:
- Set the stage by selecting four identical print 5-inch squares and four background 2-inch squares.
- Engineer a four-patch and drape the 2-inch squares over it, ensuring right sides are united. This step beautifully snowballs the center of the four-patch.
- Sew diligently down the heart of the background square at a poised 45-degree angle. This act gracefully snowballs the center corners.
- Trim with precision a quarter-inch away and press open. Once you've bedecked your centers, sew your blocks together, and behold, block number one is born!
-
Block Number Two:
- A reflection of the first, this step necessitates a pause when you achieve a harmonizing set of half blocks. Krystal's free PDF guide will illuminate you with specifics tailored to your quilt size preference.
-
Laying Out Your Quilt:
- For the odd-numbered tapestry: Arrange each block in a companionship side by side.
- For the even-numbered anthology: Begin your tale with a half block, interlace with completed blocks, and culminate with the twin half block.
- Weave these blocks to compose poetic rows and, in culmination, sew the rows together to unveil your quilt top masterpiece.
The magnum opus? A quilt top that's a tapestry of love, dedication, and artistry. Krystal added a touch of magic by choosing a symmetrical flannel for the backing, adorned with a glide thread in the peaceful hue of celery.
Now, behold the "Burrow" quilt in all its glory, as envisioned and brought to life by Krystal in her video:
If this guide resonated with your artistic spirit, make a beeline for Krystal's original tutorial at Moonkin Stitchery and shower her with appreciation and admiration. In the vast tapestry of quilting, each tutorial is a unique thread, and Krystal's distinctive touch truly stands out. Dive into this world of fabric and creativity, and may your quilting journey be fulfilling!