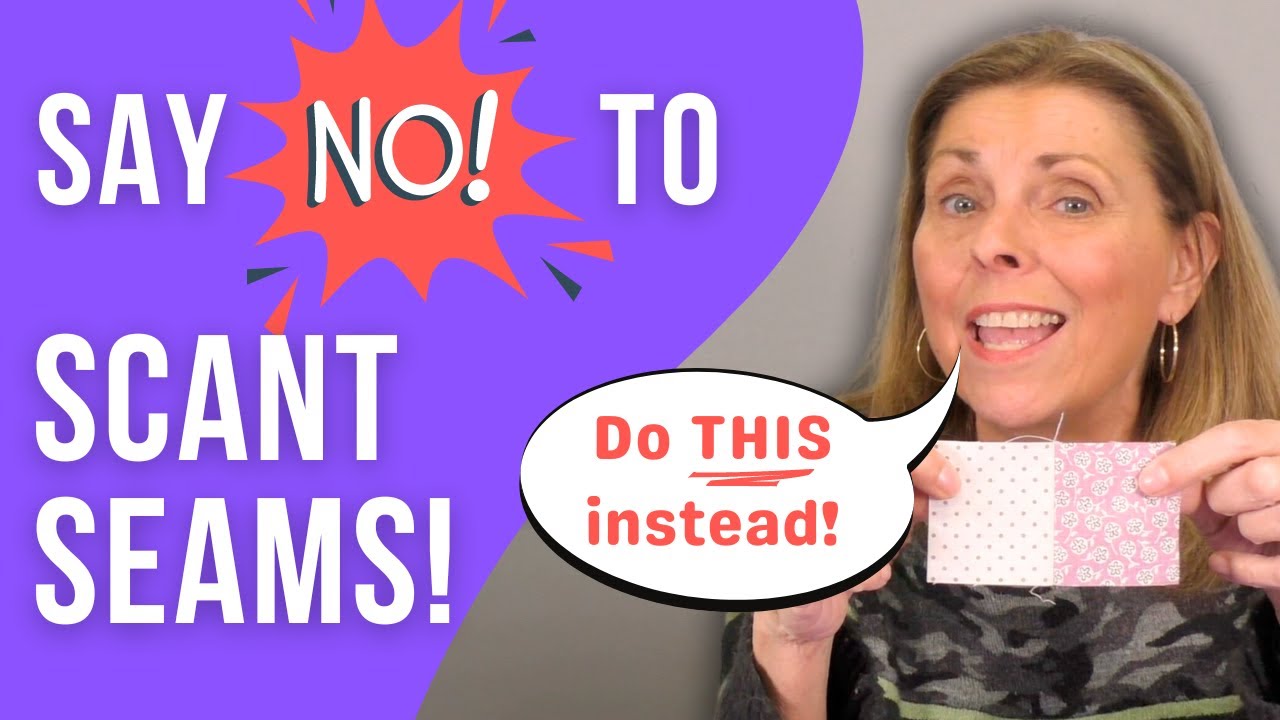
Have you ever encountered the term "scant quarter-inch seam" and wondered what it means? If you're a quilter, you've likely heard it frequently. The term was coined to compensate for fabric loss when sewing pieces together, but as Mary B from the Joyful and Merry Quilting YouTube Channel explains, the scant quarter-inch seam isn’t as reliable as it seems.
In this post, based on Mary B's insights, you’ll learn why accuracy in the final measurement is far more important than fussing over scant seams. Plus, she shares a simple solution to make achieving an accurate quarter-inch seam easy and consistent.
What Is a Scant Quarter-Inch Seam?
As Mary B explains, a scant quarter-inch seam is designed to make the seam just slightly smaller than a true quarter-inch to account for the fabric and thread bulk that can accumulate. For example, when you sew two 2 ½ inch squares together, the final piece might not measure the expected 4 ½ inches due to this bulk. The scant seam is supposed to combat that issue.
However, Mary B points out that this method can be inconsistent and tricky to replicate accurately. Small variations in your seam can result in incorrect block sizes, leading to frustration when pieces don’t fit together as intended.
Why Accurate Seams Matter More
Instead of focusing on achieving a scant seam, Mary B emphasizes the importance of the final measurement. When sewing, it's not the exact size of the seam that should concern you, but the finished size of your block.
For example, after sewing two 2 ½ inch squares together, you want the final block to measure 4 ½ inches across. By ensuring that your finished pieces measure accurately, you can guarantee that your quilt pieces will align perfectly.
A Simple Solution: Painter’s Tape Guide
Mary B offers a straightforward solution to achieving accurate seams every time—using painter’s tape as a guide on your sewing machine.
Here’s how she does it:
- Cut several strips of 1-inch wide painter’s tape and stack them into 5 or 6 layers. This creates a slight ridge that acts as a guide for your fabric.
- Remove the quarter-inch foot from your machine and use a universal foot.
- Place a ruler under your sewing machine’s foot, lining up the quarter-inch mark on the ruler with the needle.
- Drop the needle just beside the quarter-inch line on the ruler. Then, position the painter’s tape alongside the ruler to create your seam guide.
- When sewing, keep the edge of your fabric snug against the tape to ensure a consistent seam width.
This simple painter’s tape method ensures that your seams are accurate, eliminating the need to worry about whether your seam is scant or not.
Test Your Seams
Mary B recommends testing your seams to ensure accuracy. After sewing two 2 ½ inch squares together, the final block should measure 4 ½ inches across. If it does, you’ve achieved the perfect seam.
By using this method, you can focus on getting precise final measurements rather than worrying about seam allowances. This ensures that your quilt pieces will fit together seamlessly.
Conclusion
Thanks to Mary B and her painter’s tape method, achieving accurate quarter-inch seams has never been easier. There's no need to rely on the inconsistent scant seam approach. Focus on accurate final measurements, and you’ll get perfect results every time.
For more quilting tips and tutorials, be sure to check out Mary B’s videos on her Joyful and Merry Quilting YouTube Channel (@joyfulandmerryquilting).
Happy sewing!
